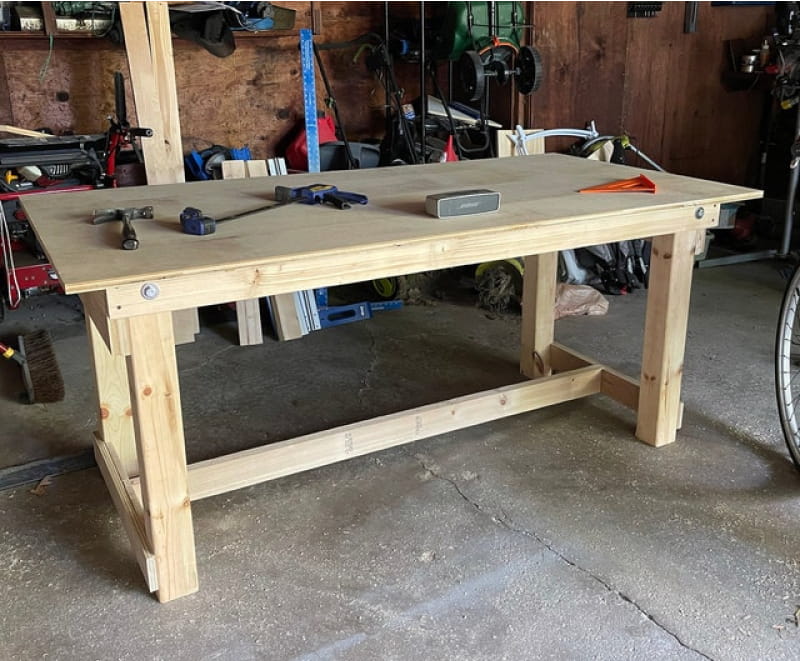
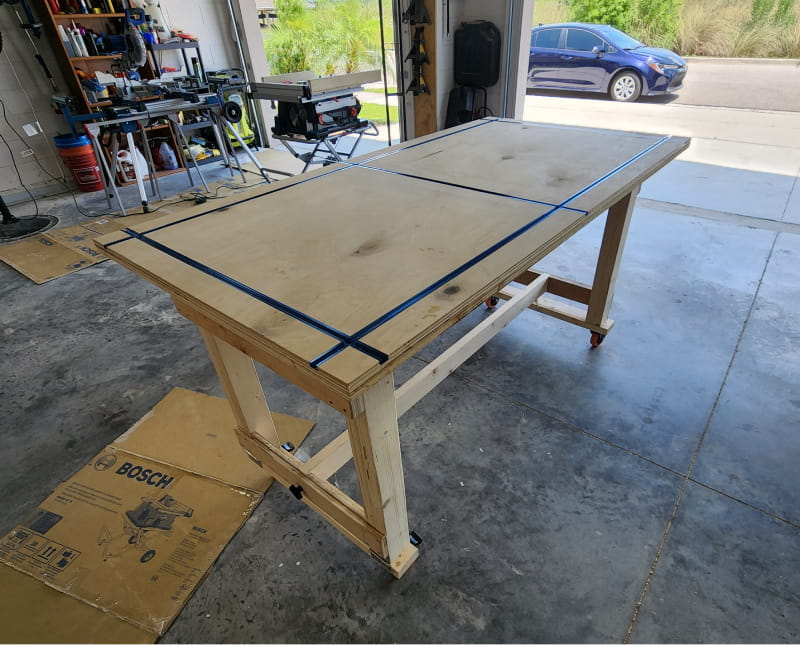
During the year 2020's Covid-19 "work from home order" I finally had some extra time in my daily schedule to tackle new home remodel projects which my wife had in mind. These projects required a workshop area, which I assembled in my garage. However, with the addition of new tools and saws, I often found myself building on the garage floor, not having a bench big enough to fit the tools. After doing some research, I decided to build a 3x6 ft workshop table, which would fold for tidy storage on the wall and unfold for the additional work space I desperately needed. Additionally, I really wanted to make a sturdy and solid table which would have the option for wheeling it around in and out of the garage as needed.
CAPABILITIES USED
Engineering, 3D Design, Woodworking, Videography
CAPABILITIES USED
Engineering, 3D Design, Woodworking, Videography
As with some of my previous DIY projects, I captured a time-lapse video to show the entire build from beginning to completion.
In this video I provide a more in-depth look at my design process and thinking which went into the production of this project.
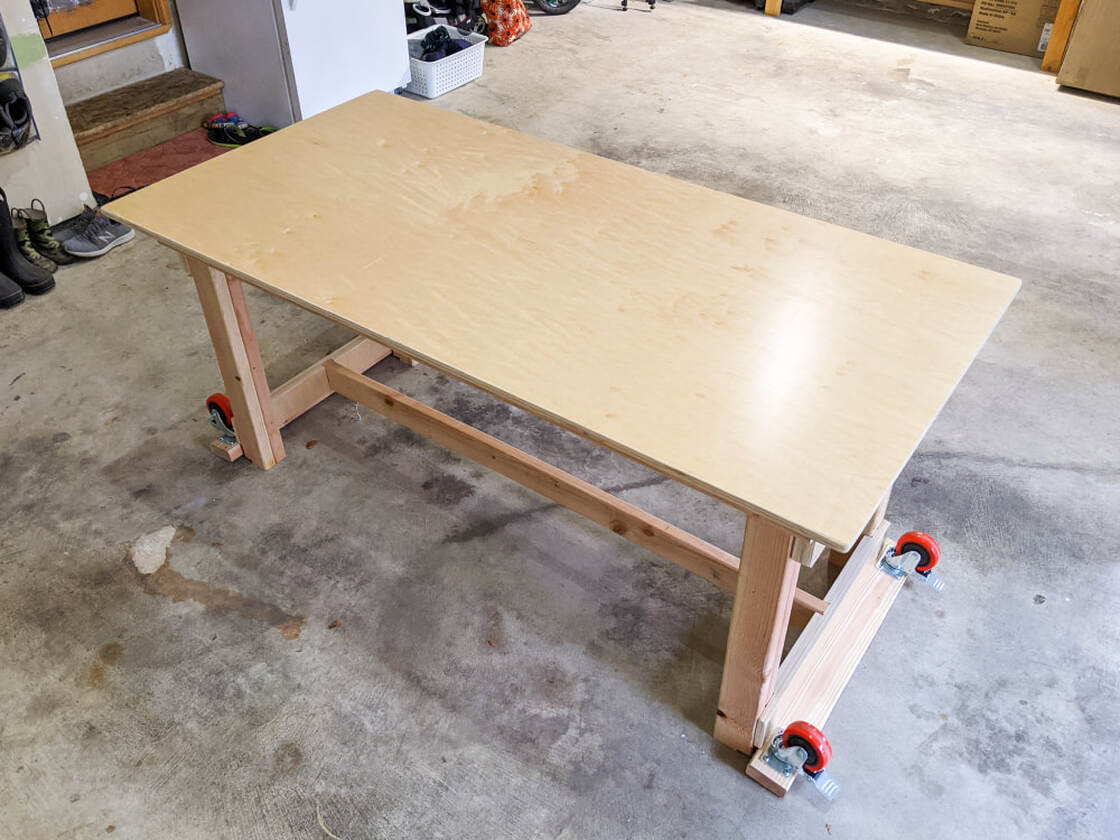
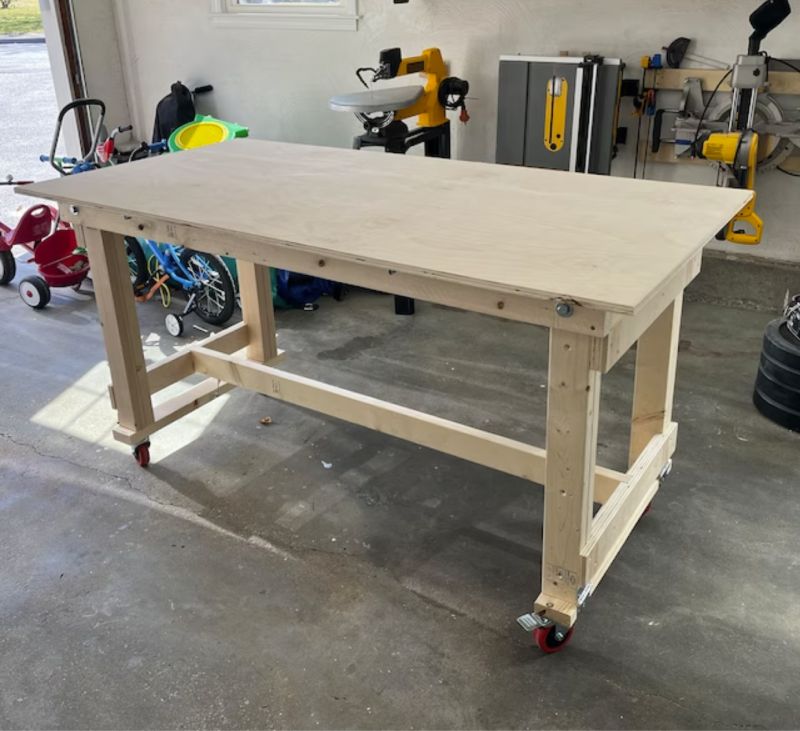
Completed build
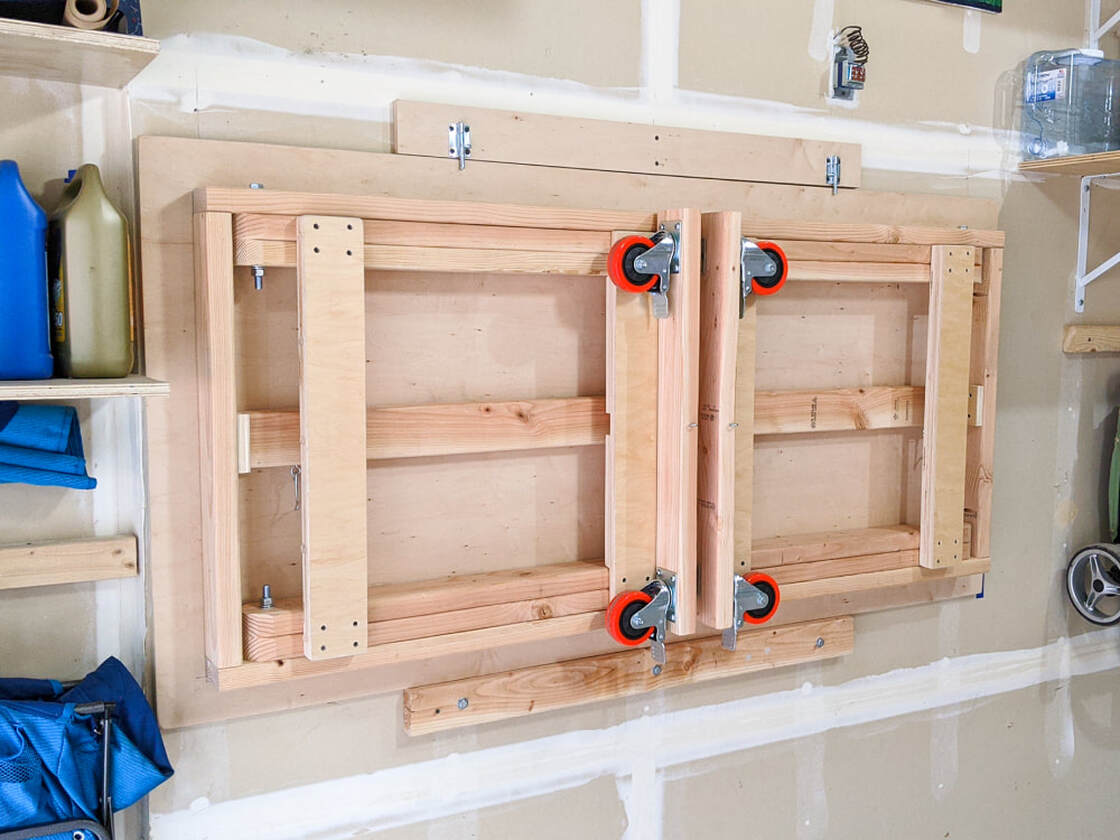
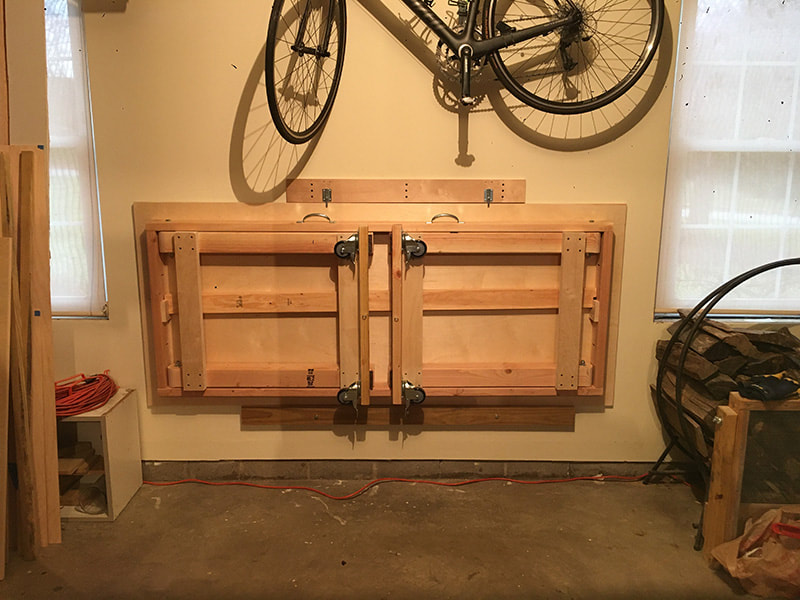
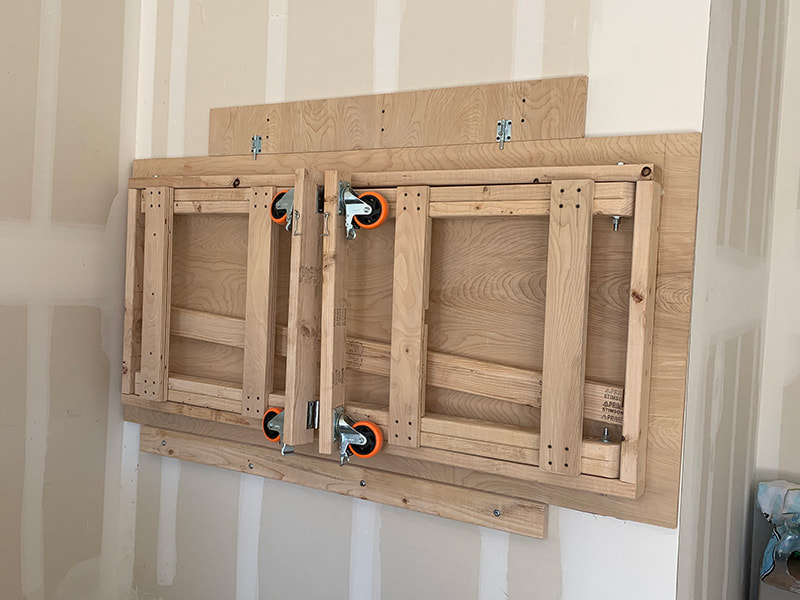
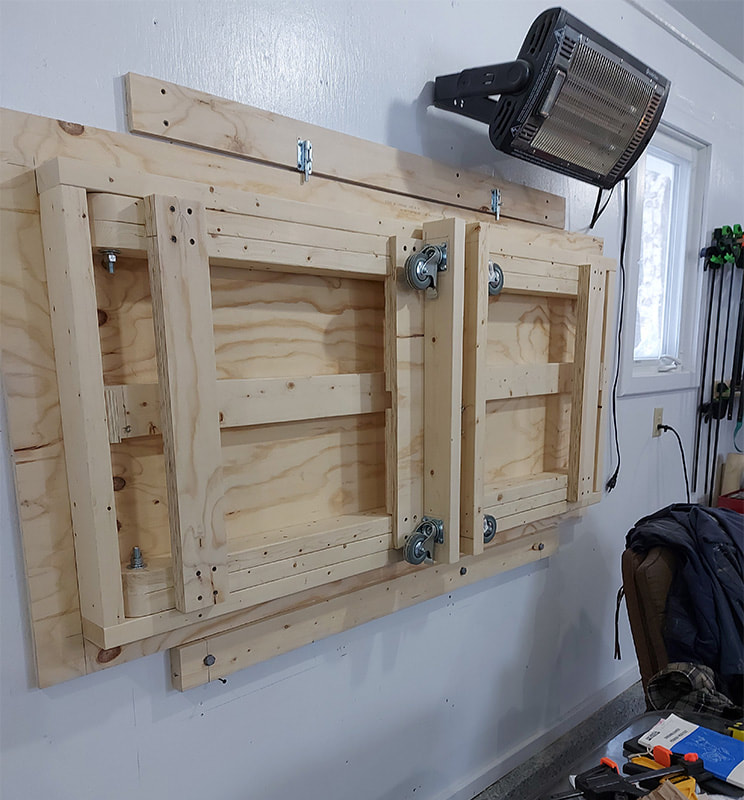
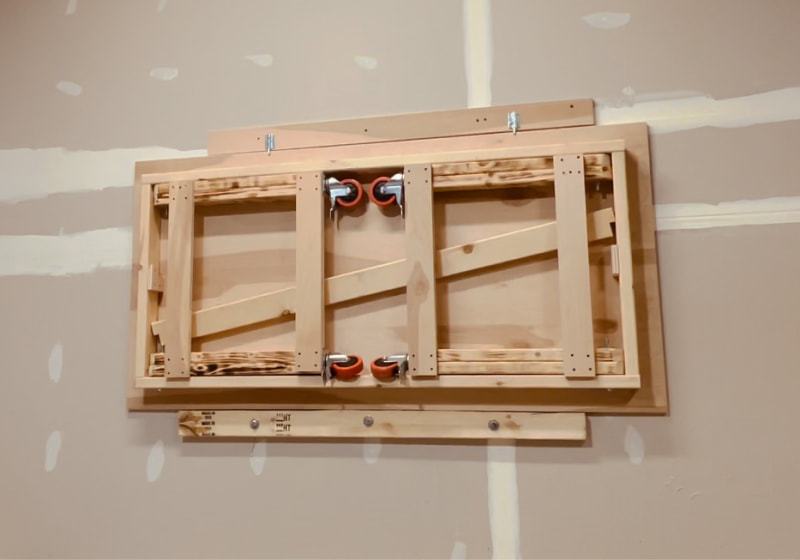
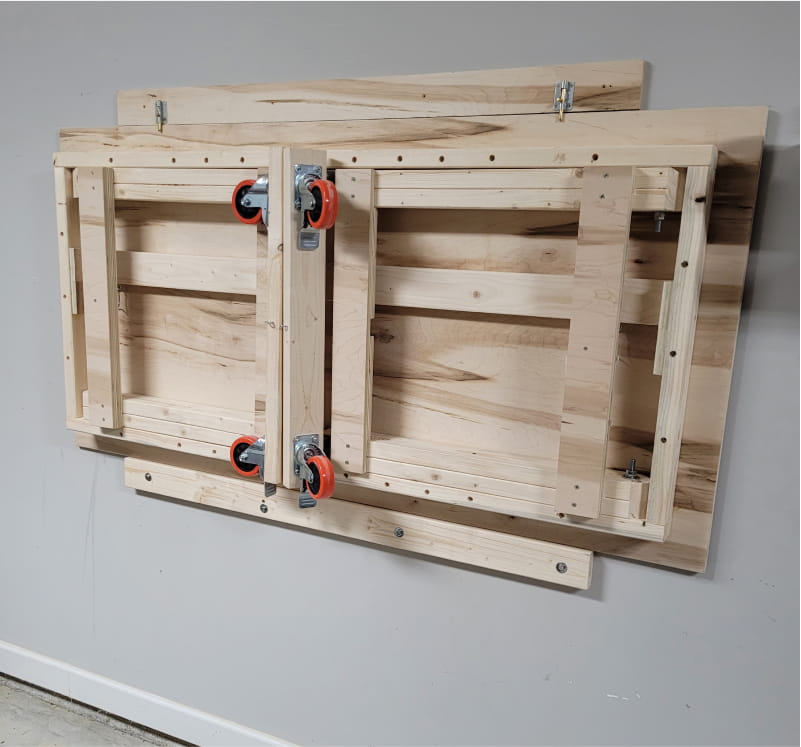
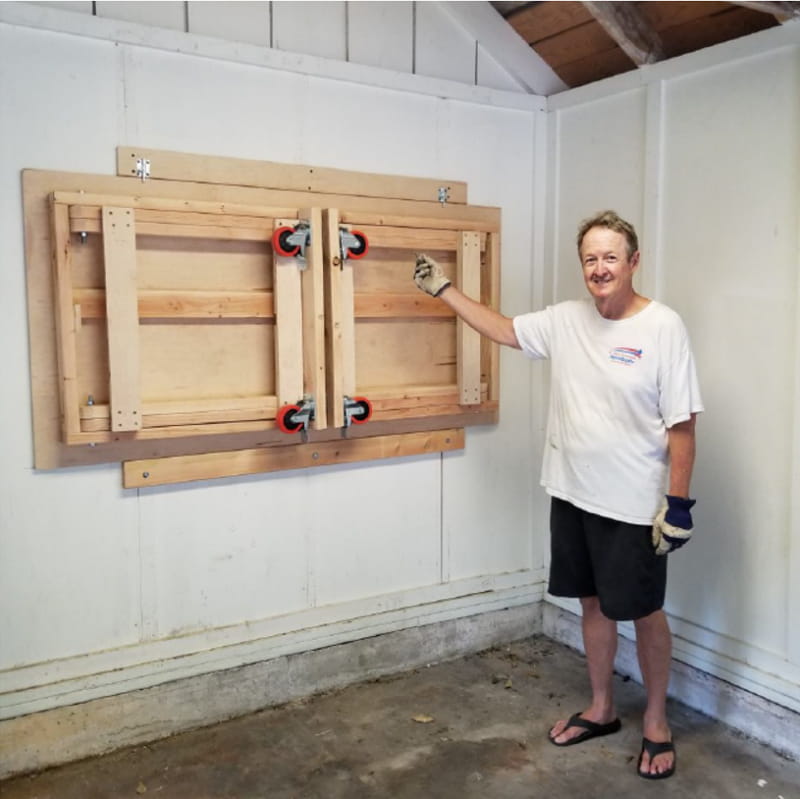
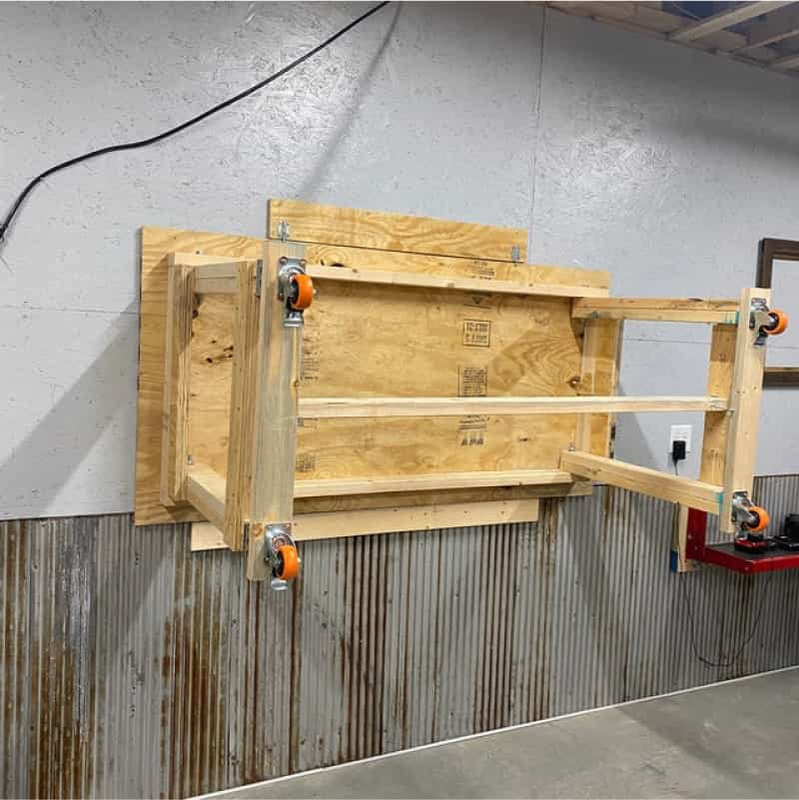
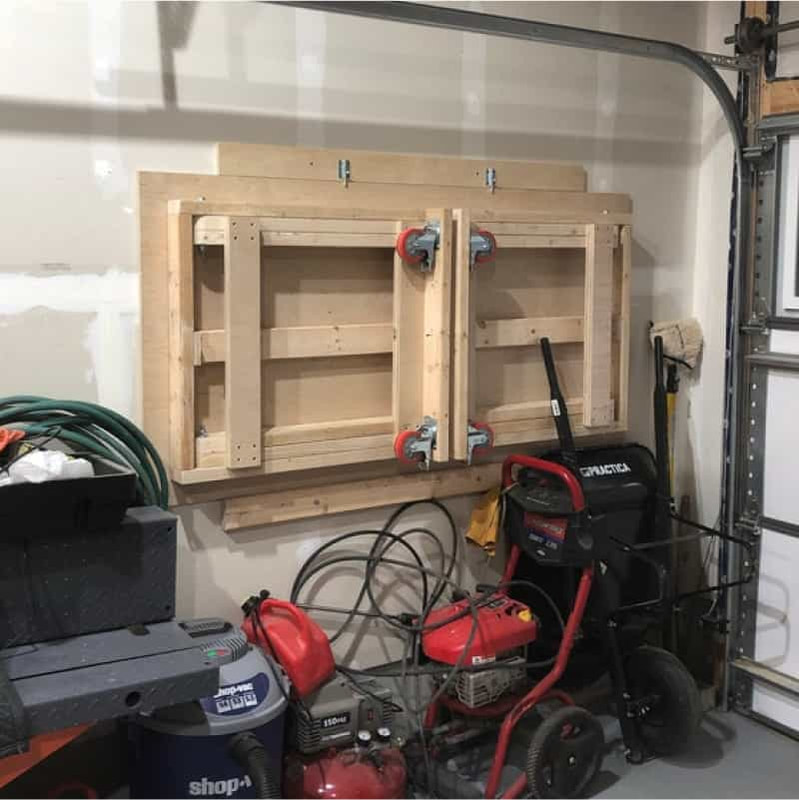
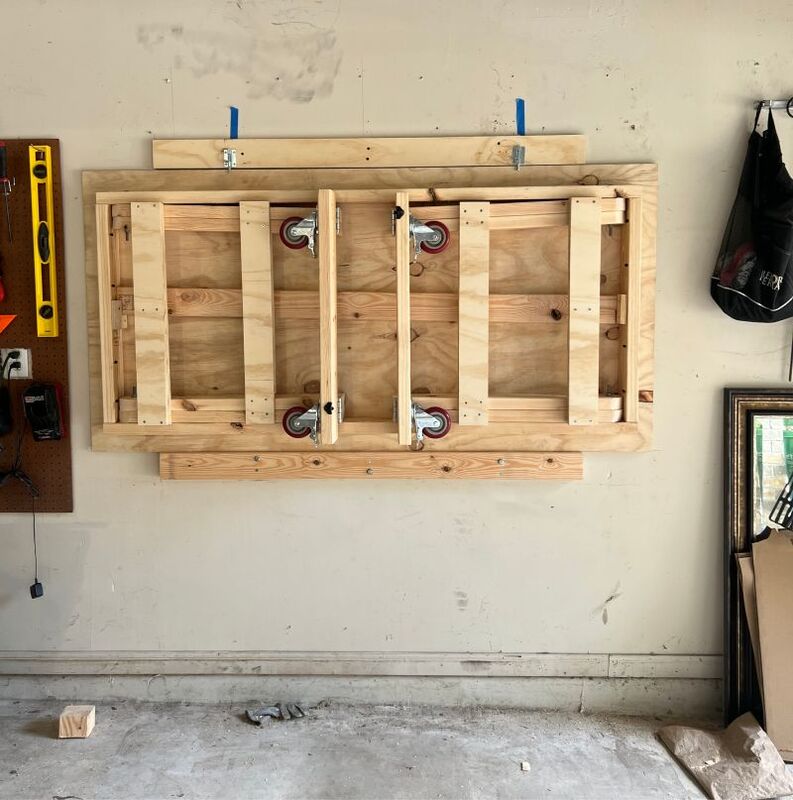
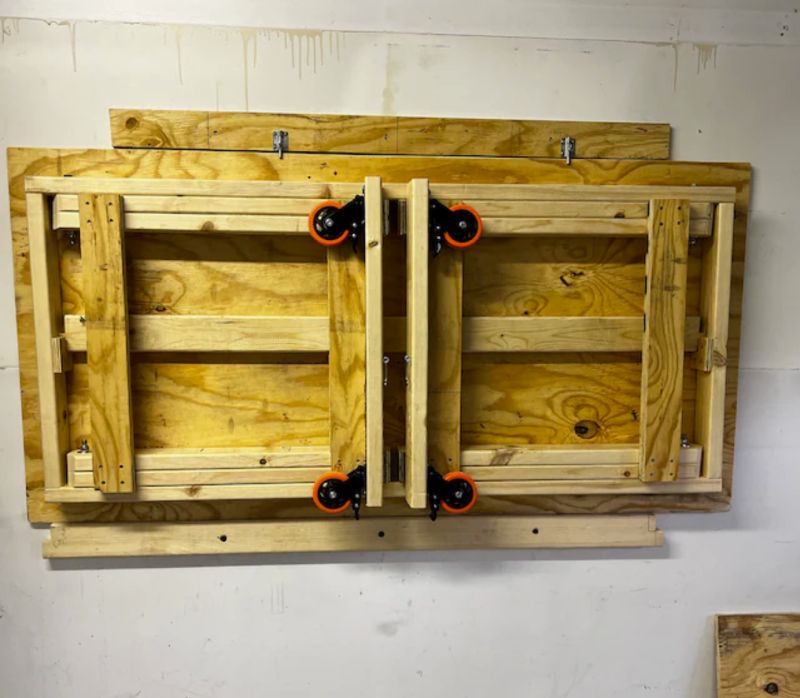
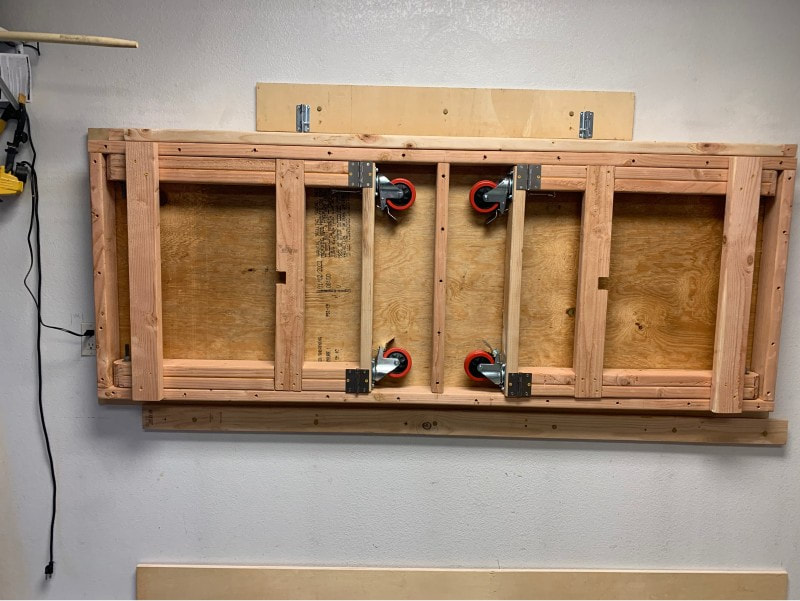
Here is the table folded and mounted on the wall. The slim profile of the table keeps it from being in the way, even when there's a car parked right next to it. I find it far less intrusive than many of the storage shelves which I have hanging on the walls around it.
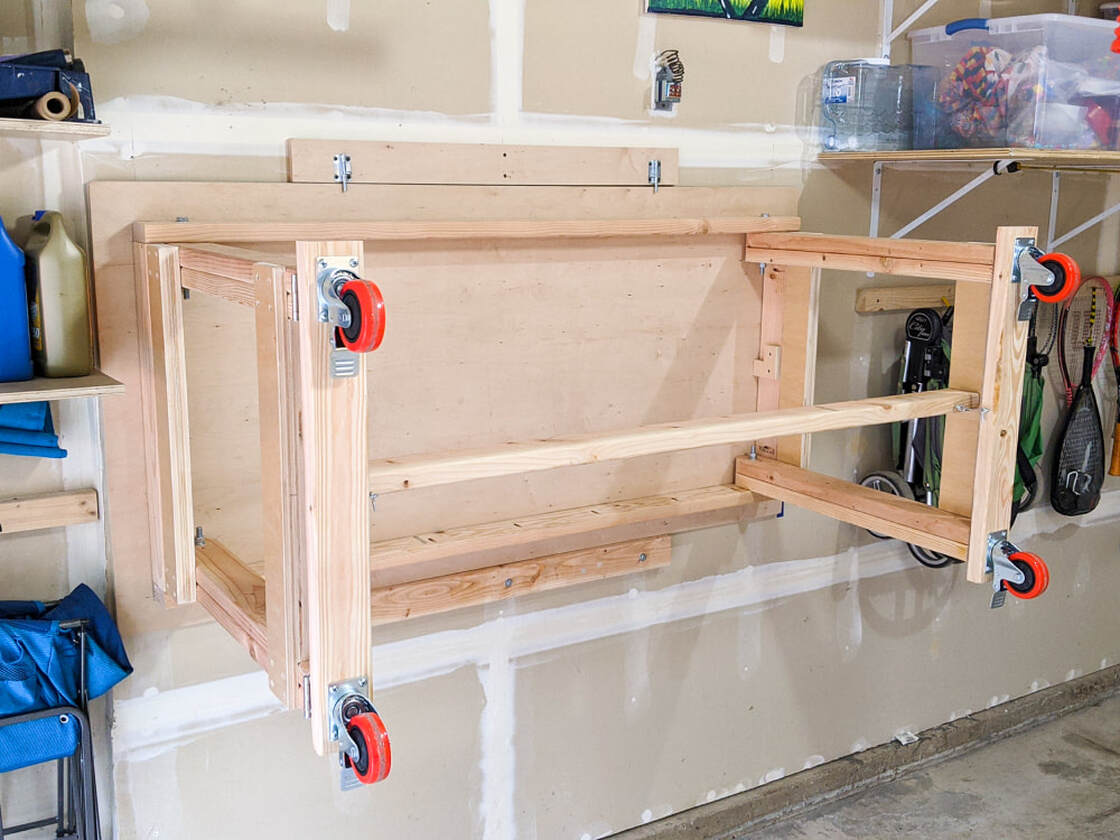
Even with the table legs fully opened and the stretcher in place, the 3 in bolt locks do a good job of holding the entire thing up against the wall.
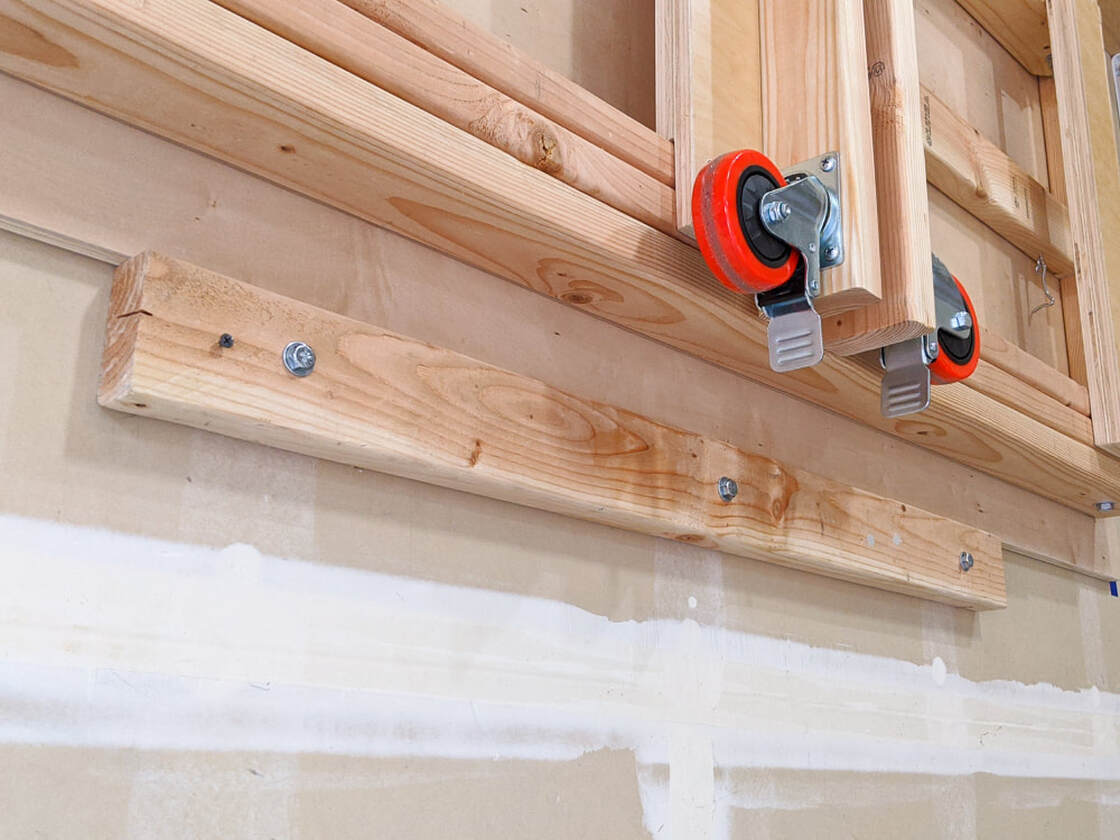
The bracket which holds the table up on the wall is simply a 2x4 piece, mounted to three wall studs, which also provides the space for storing additional tools.
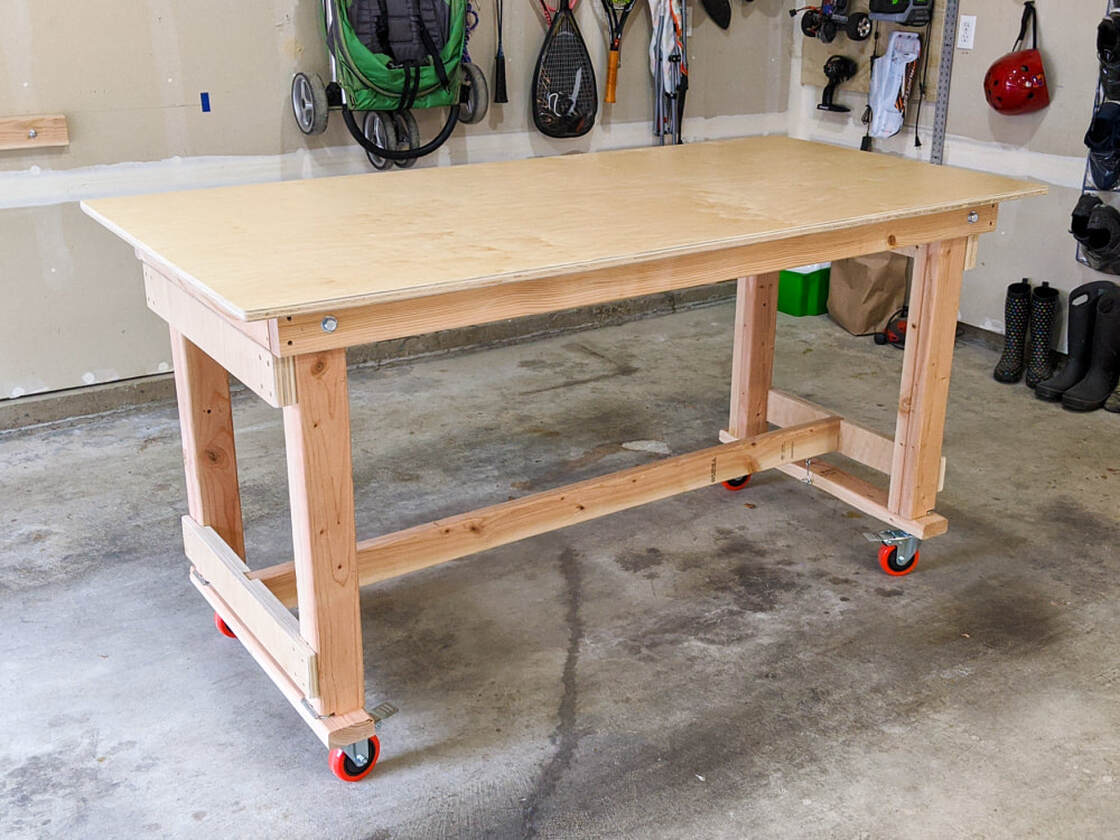
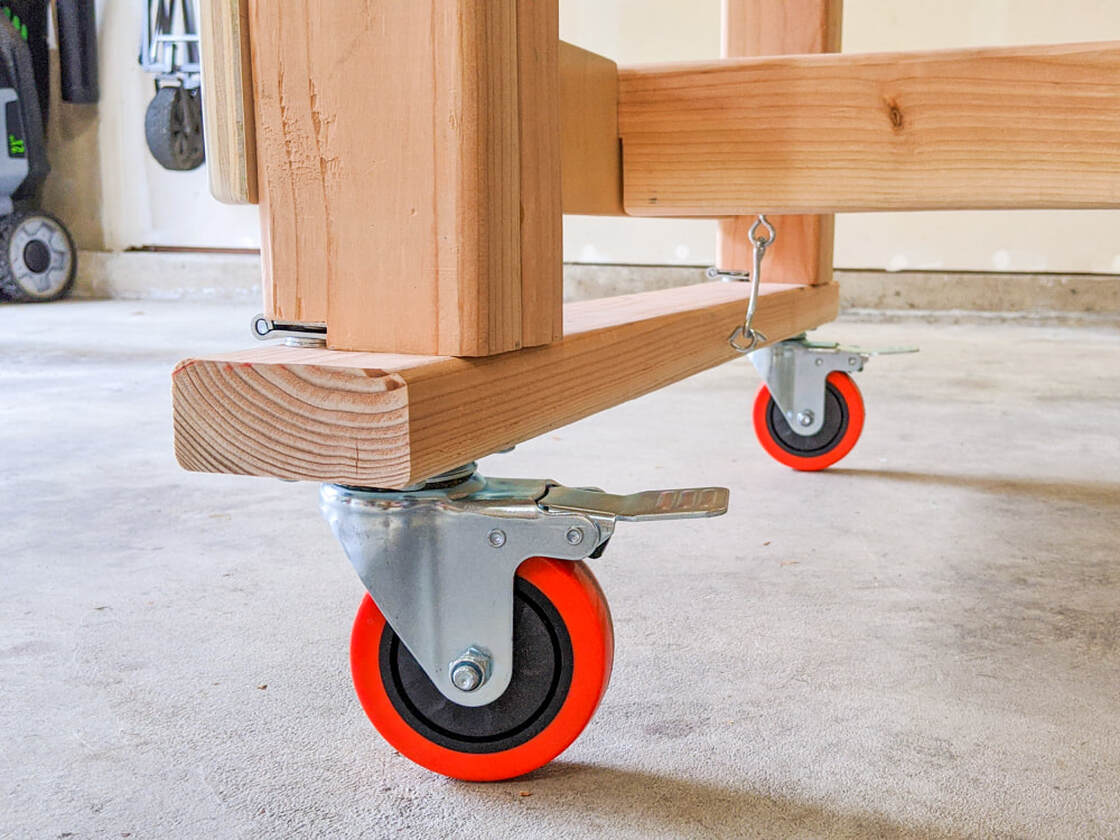
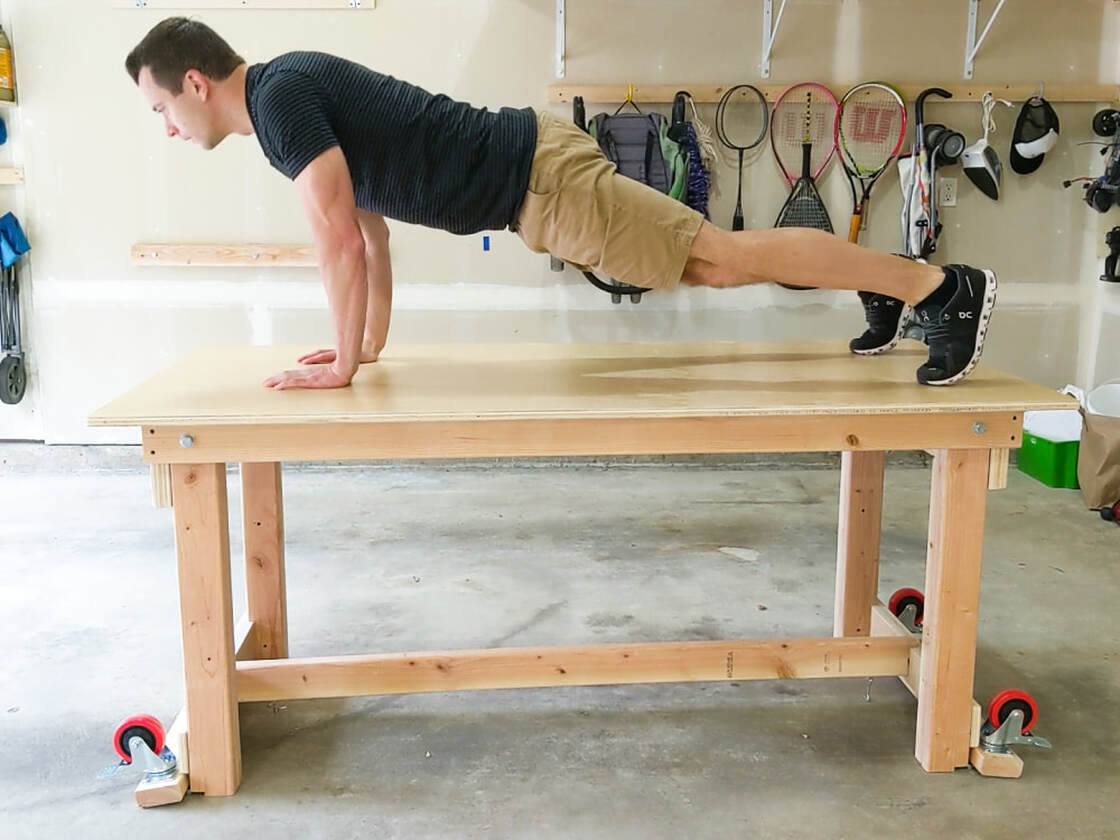
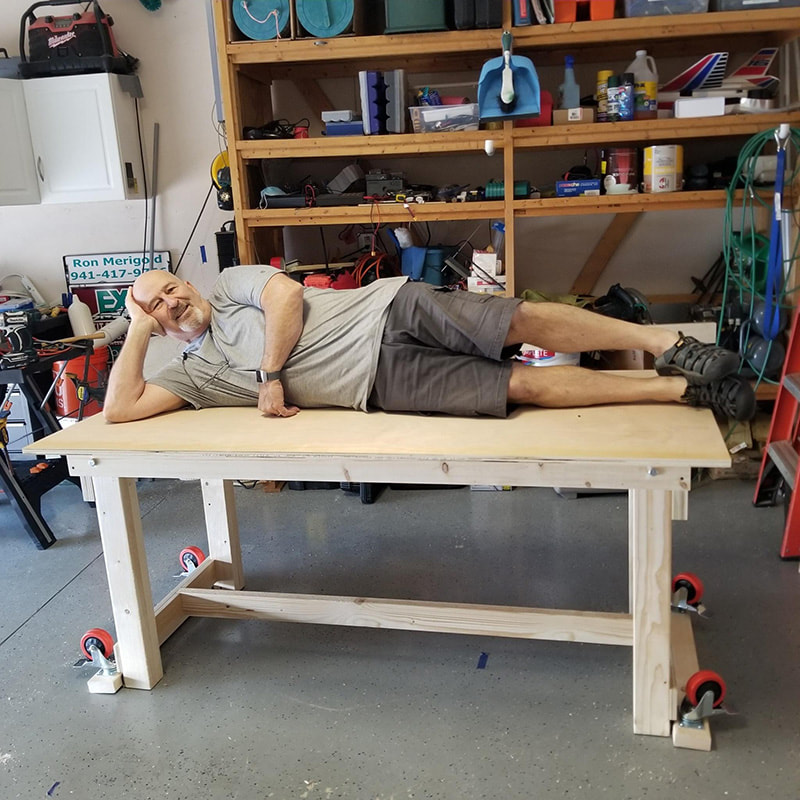
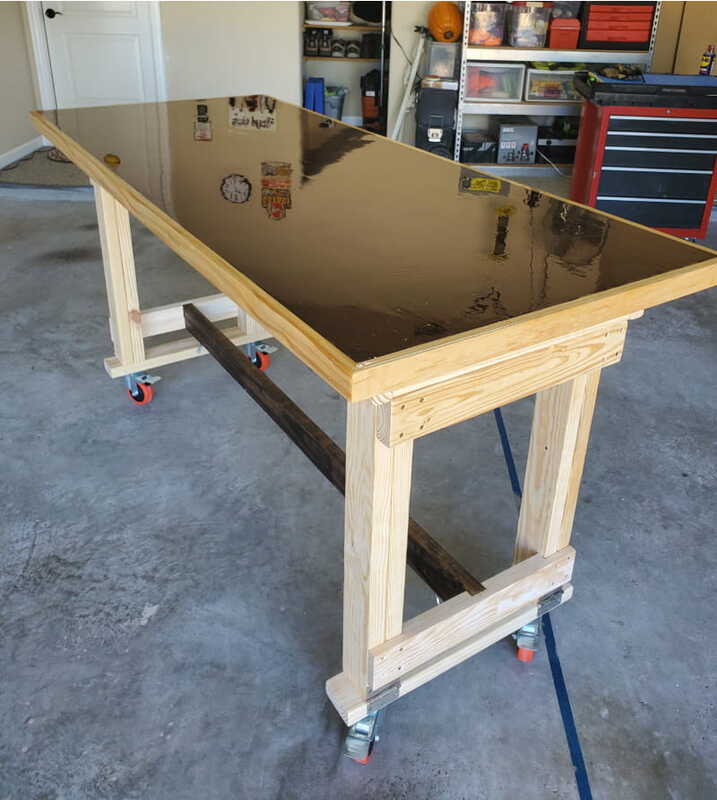
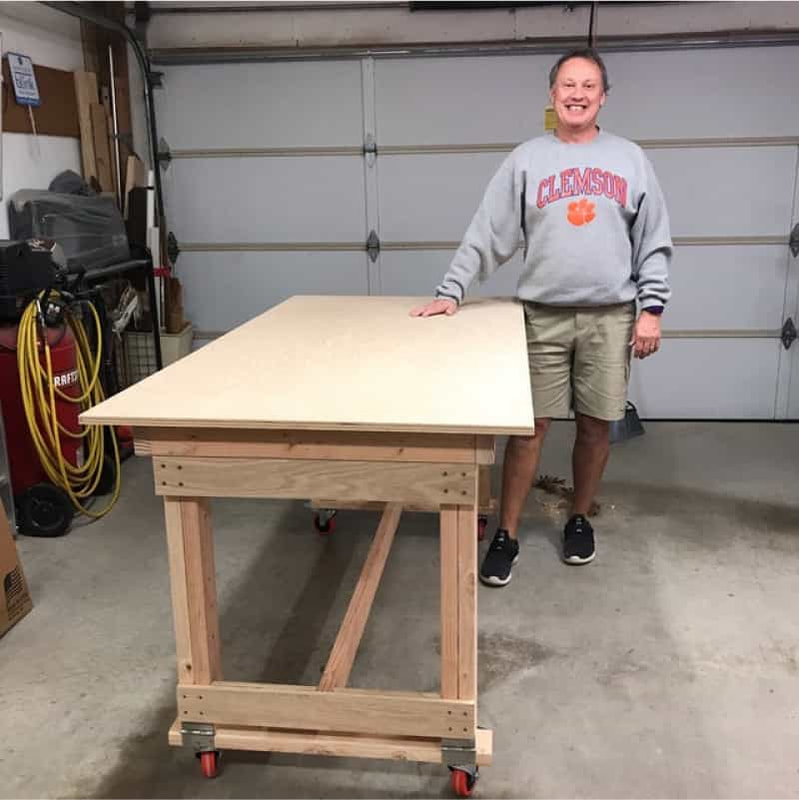
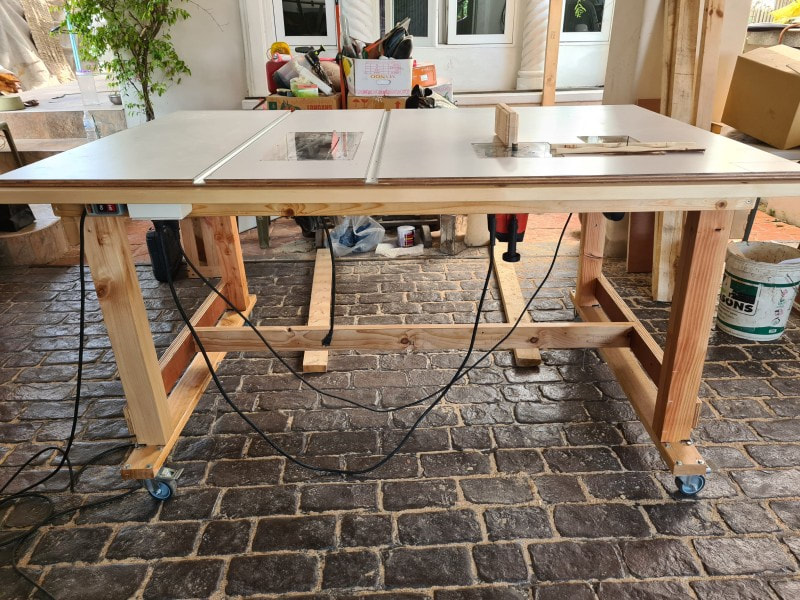
With the table down and the caster wheels engaged it stands at about 38 in tall.
I really love having the optional caster wheels attached which allow me to easily roll the table around to where I need it.
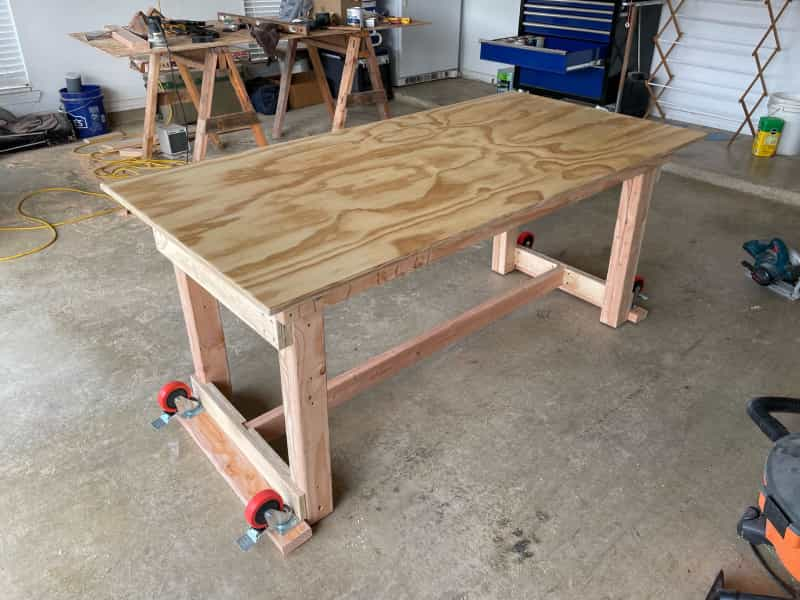
The cabinet-grade plywood provides a smooth work surface which is durable and easy to clean.
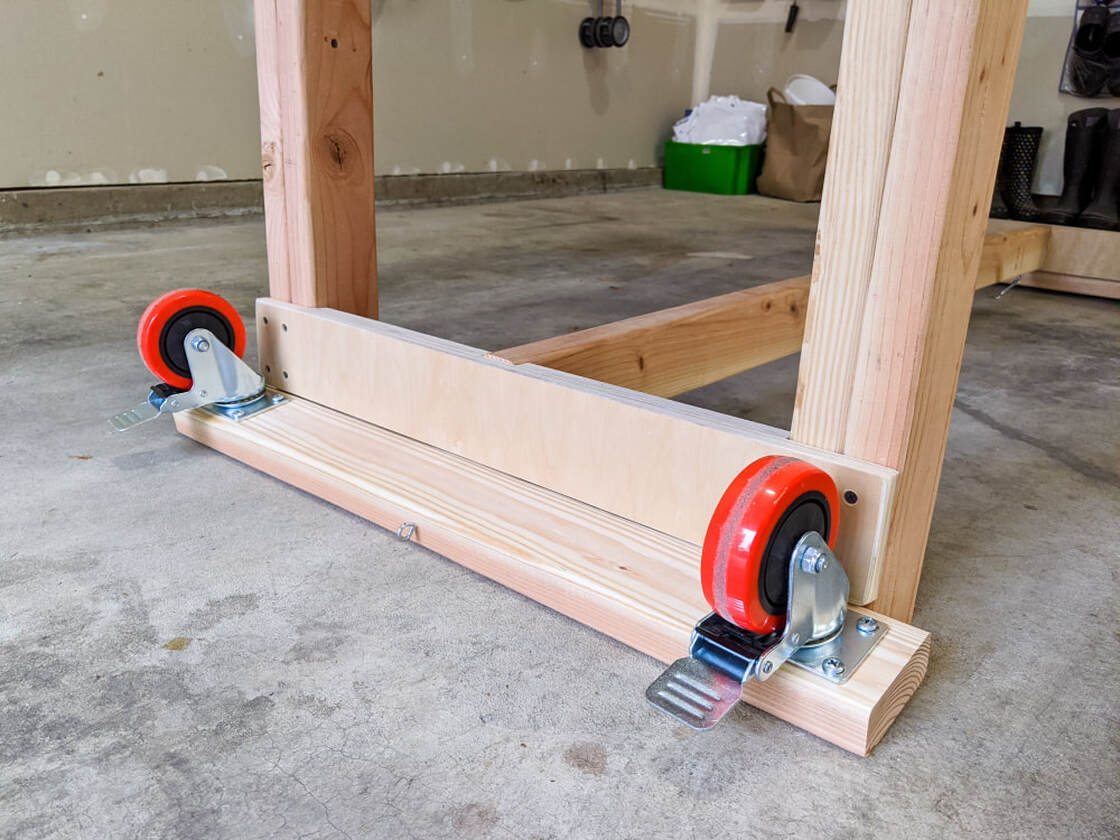
With the wheels flipped out the legs get a greater surface area of contact on the floor for greater stability.
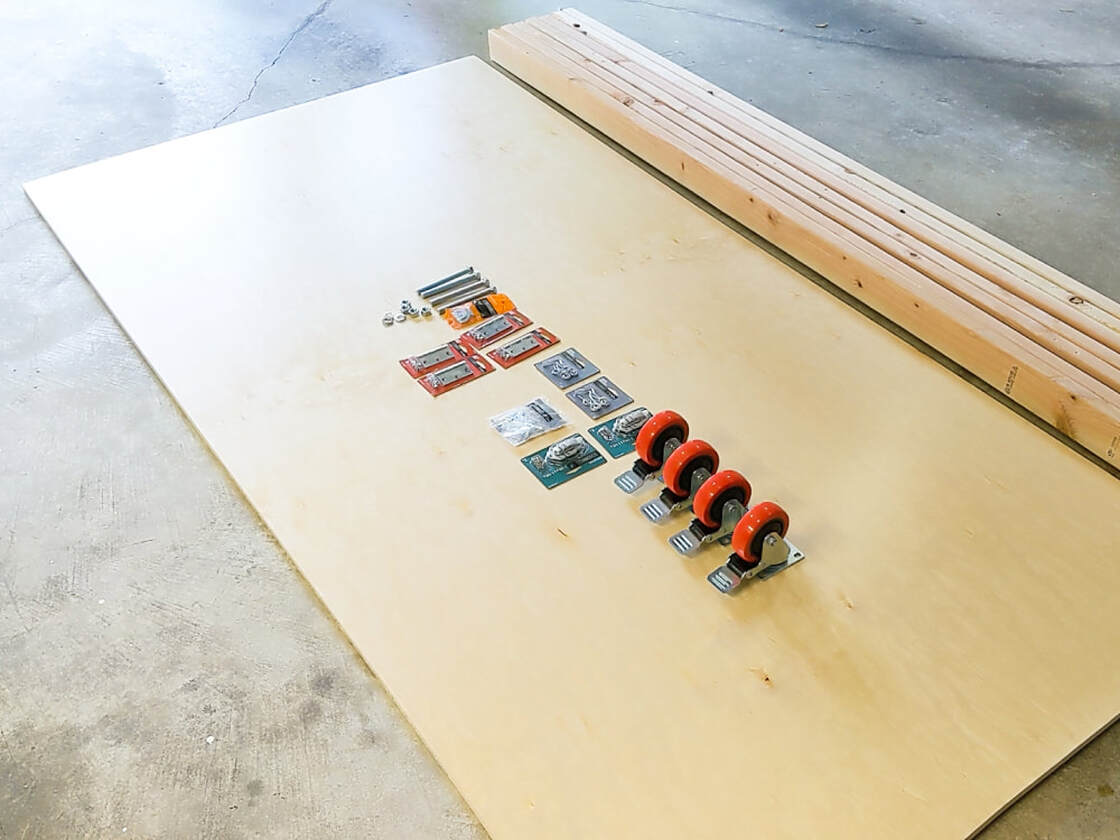
This still frame from the build video above, shows essentially the basic set of parts and materials which I used to assemble this project. All together the cost was around $150.
Push-ups on the table was my final quality assurance test. It's impressively durable for what it is and I'm certain that it will get plenty of use for many years to come.
Want to make this workshop table?
Get the DIY plans below.
|
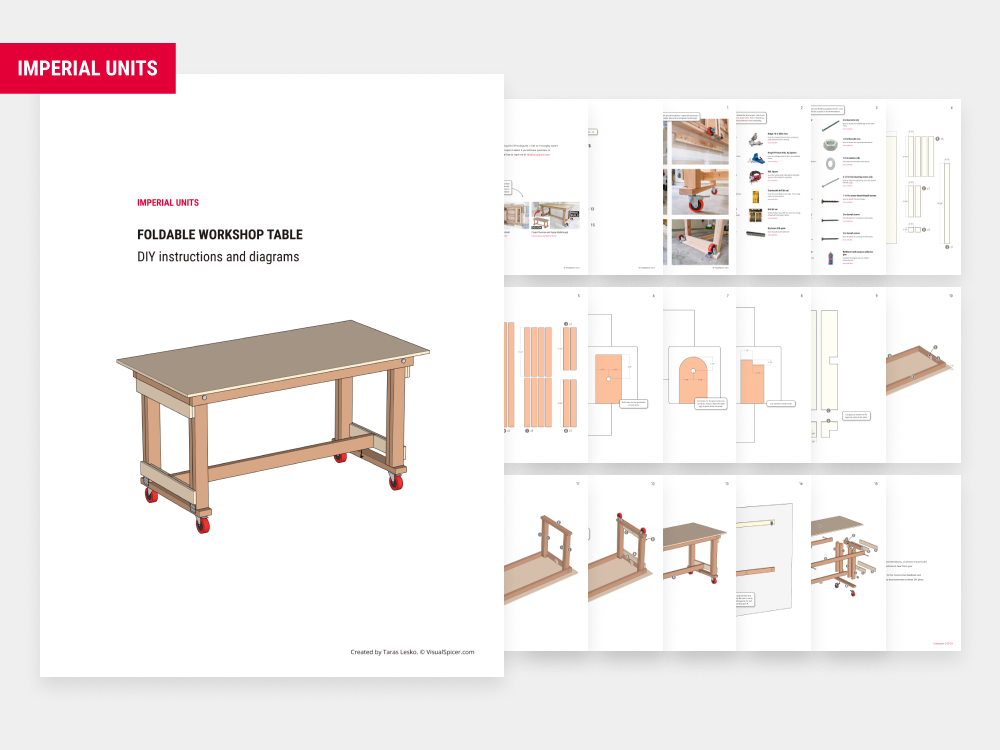
19 page downloadable instructions and diagrams PDF file, with a detailed list of recommended tools, materials, cut lists, 3D diagrams, measurements and helpful tips.
Tabletop size: 3 x 6 ft Table height with wheels: 38.5 in Table height without wheels: 32 in Measurements are indicated using "Imperial" inches. |
|
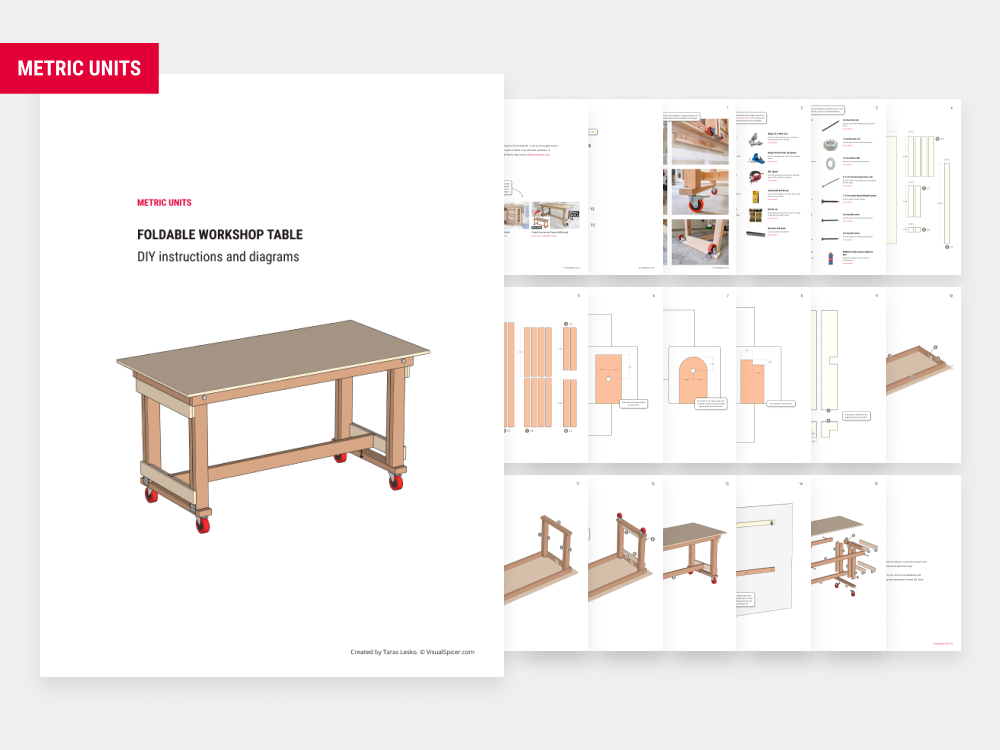
19 page downloadable instructions and diagrams PDF file, with a detailed list of recommended tools, materials, cut lists, 3D diagrams, measurements and helpful tips.
Tabletop size: 91 x 183 cm Table height with wheels: 98 cm Table height without wheels: 81 cm Measurements are indicated using "Metric" centimeters. |
Tools and materials
In case you are curious, here is the (hopefully) complete list of tools and materials I used to assemble this project.
|
TOOLS USED
SketchUp My primary digital tool for creating the table design and measurements. DeWalt 20V Circular Saw Used for cutting most of the wood boards. DeWalt 20V Cordless Drill Used for pre-drilling holes for screws and bolts. DeWalt 20V Impact Driver Used for driving screws into the wood and tightening bolts around the leg hinges. DeWalt 20V Orbital Sander Used for sanding the outer edge of the tabletop and other general sanding. DeWalt 20V Oscillating Multi-Tool Used with the sander attachment head for general sanding and smoothing within smaller areas. DeWalt 6 in Bar Clamps Used for positioning and holding together pieces of wood during cutting or glueing. Kreg K4 Pocket Hole Jig System Used for drilling pocket holes in the tabletop frame. Skil Jigsaw Used for cutting small slots within the tights spaces of the stretches assembly. Ridgid 10 in Miter Saw Used for making fast and clean wood cuts, particularly the 2x4 in boards. Countersink drill bit set Used for pre-drilling screw holes. Particularly useful on hard-woods. Drill bit set Mostly Phillips head drill bits used for driving screws with the impact driver. Big Gator drill guide Used to guide hand-held drill. |
MATERIALS USED
3/4 in cabinet grade Birch plywood (x1) Used at table-top surface and several reinforcement beams. 2x4 in wall studs (x8) Used for all the framing, table legs and stretcher. 4 in caster wheels (x4) Optional flip-out wheels mounted at the bottom of the table legs. 3 in door hinges (x4) Used for the wheels flip-out assembly. 3 in barrel bolt locks (x2) Used as the locking mechanism to hold the table uprights against the wall. 2-1/2 in hook and eye latches (x2) Used to fasten the stretcher to the wheels assembly. Kreg 1-1/4 in coarse thread pocket hole screws Used to attach the 2x4 frame to the plywood table-top. #12 3/4 in pan head sheet metal screws (x16) Used to attach the caster wheels to the 2x4 crossbar. 6 in Hex bolts (x4) Used to attach the foldable legs to the table frame. 1/2 in Hex nuts (x4) Used to fasten the Hex bolts listed above. 1/2 in washers (x8) Used with the Hex bolts listed above. 4-1/2 in Hex head lag screws (x3) Used to hold the supporting cross-bar against the wall studs. 1-1/4 in coarse thread drywall screws Used to attach the door hinges. 2 in drywall screws Used for general mounting of wood parts. 3 in drywall screws Used for general mounting of wood parts. Weldbond multi-purpose adhesive glue Used to attach the table-top plywood to the frame and any other areas where additional reinforcement was needed. |


